LEAF SPRING MODIFICATION
November 9, 2007
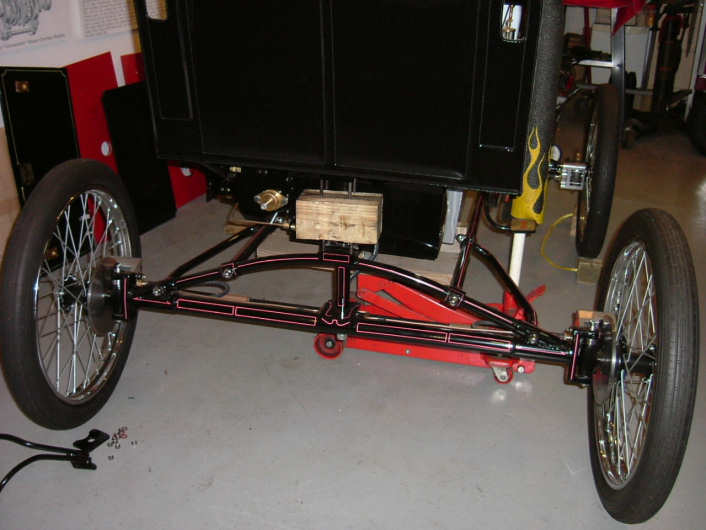
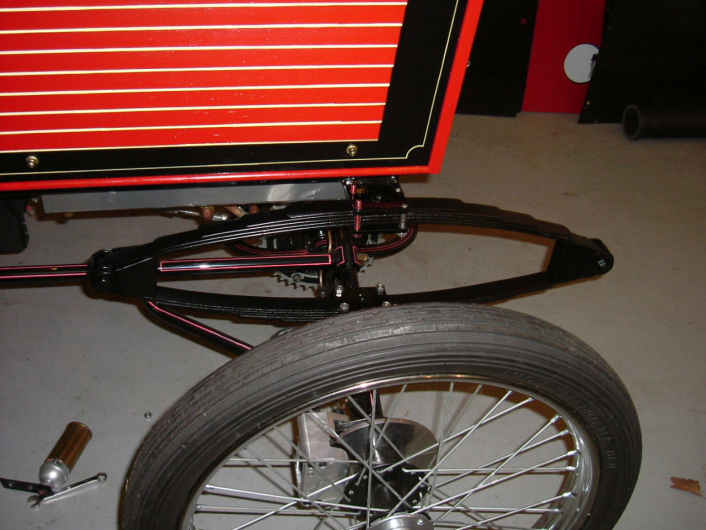
Removed the leaf springs from the car and install temporary blocks instead. There are a lot of sharp edges on the spring stiffeners; so I used the grinding / wire wheel to remove the edges. I removed the spring eye bolts one at a time, and installed the stiffeners using the new bolts supplied. The stiffener's fell right into place without any large hammer's being required.
2.5 Hours
Nov. 10
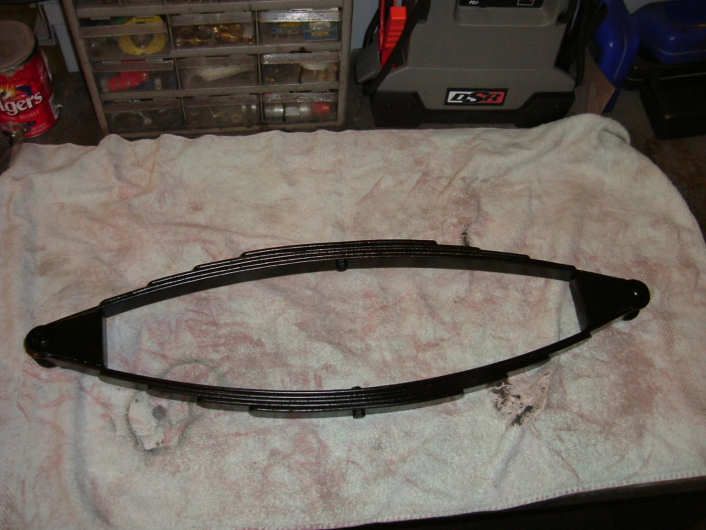
Prep and Painted the spring assemblies, I painted mine a Semi-Gloss Black, as I will be pin stripping them later.
2.0 Hours
Nov.12
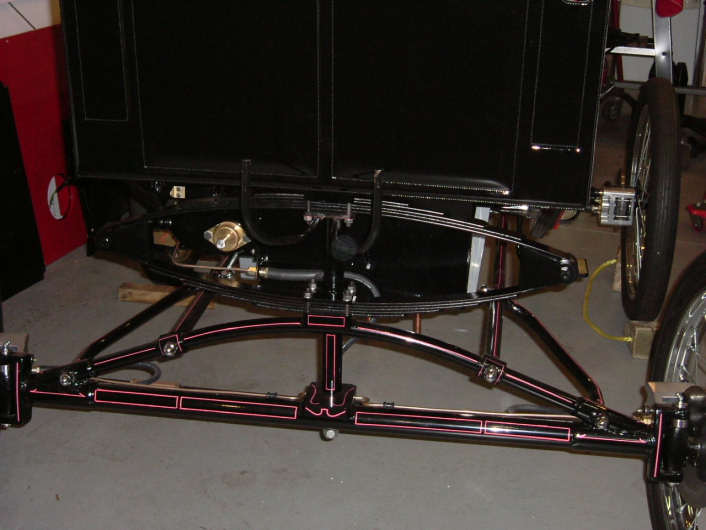
Installed the spring assemblies onto the car. The car now sits about 1.5" taller and is much stiffer than before. I can barely get any compression when I sit on the car, as before they almost went flat. There should be more than enough support now when the car is completed and full with 2 passengers.
2.5 Hours
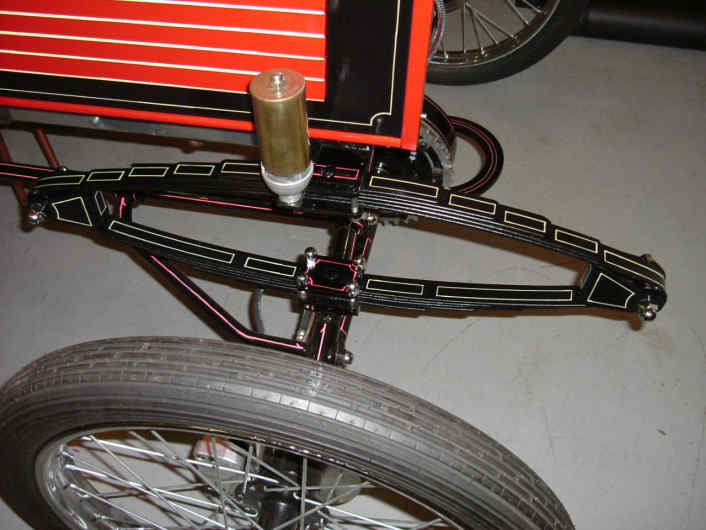
I then spent several nights applying the pin stripping and some nut covers to match the ones I used on the chassis.
This modification is an easy fix and it doesn't look bad either. A good save by the engineers at ModelWorks.
Happy Building
Rick
LEAF SPRING MODIFICATION
Click here for almost complete picture
Update 2010: Modelworks are now Steam Traction World their website can be found HERE
Go to page:
Kit One and Two.
Kit Three and Four.
Kit Four B and Five.
Kit Six and Eight.
Kit Seven.
Kit Eight.
Kit Nine.
Kit Ten.
Addendum Kit Ten.
Kit Twelve.
Kit Thirteen.
Kit Fourteen.
Kit Fifteen.
Kit Sixteen.
Kit Seventeen and Eighteen.
Boiler Installation.
Burner Installation.
Leaf Spring Modification.
Engine Modification.
Brake Pedal, Brake Line, and Throttle Pedal Installation
Fuel Line Pickup Modification.
Super Heater, Hand Pump, and Plumbing.
Some Final Assembly and First Time Steam Up.
Road Test and a few Modifications.
Locomobile Cylinder Drains July 2009.
|


